Architectural LED Tear-down Report
Posted by FirmWarez on 21 Jul 2013 in Blog | 0 comments
It’s amazing what some people will throw away, isn’t it? So, I get an early morning call from a friend whose title is, get this “Director of Visitor Experience”, which I think I’m quite qualified to claim for some visitors…but anyway, my buddy calls me and says “hey, are you interested in some LED lights?” Well, duh. “The architectural LEDs off the Some-number Somethings Something were replaced. The old ones are in a dumpster at the redacted. They are 4 feet long, and marked for 240VAC.”
Dude, I’m on it. Big time.
Ok, so even a pirate like me believes in a bit of due diligence. First order of business is to research salvage and dumpster diving laws here in FlyOver country…after that? Well, a little bit of field work, the treasures are at their new home, and I’m just glowing with excitement.
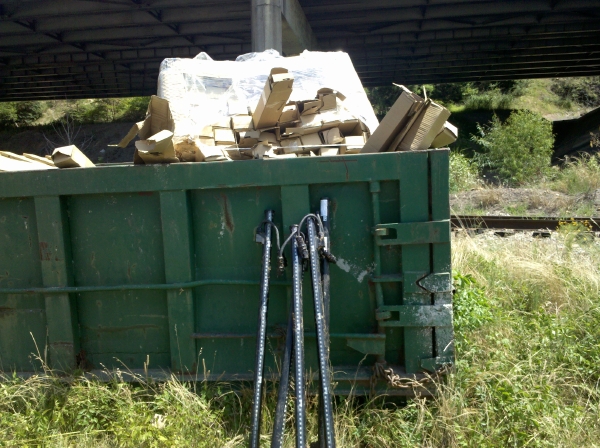
Field work. “You want to be a good archaeologist…you’ve got to get out of the library!”
They are labeled with the part number, project name, and marked “240V, 17 watt”. Oh, and for doubling your phun, they have a DMX label on them. Well, the address isn’t there anymore, but there is a label that apparently prior to exposure to the elements, had a DMX address on it. For those of you who haven’t been around DJ or stage lighting DMX512 is an ancient, super simple protocol that uses the RS485 physical layer, originally designed to control “dimmers”, but now used for lasers, light heads, wall washes, all sorts of raving glowing goodness, as well as stage lighting, and major architectural lighting installations.
glo… “וַיֹּאמֶר אֱלֹהִים, יְהִי אוֹר; וַיְהִי אוֹר”
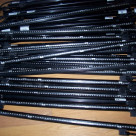
My salvage operation results in a large number of four foot units and single two foot version. The LEDs are encased in an extruded plastic housing, with the connectors coming in through rectangular blocks bolted to the back of the housing. Inside the housing is an assembly stack of individual foot long boards, each with 18 RGB LEDs on it. The enclosures terminate in waterproof caps, and everything is sealed with silicone. They are designed to be daisy-chained together.
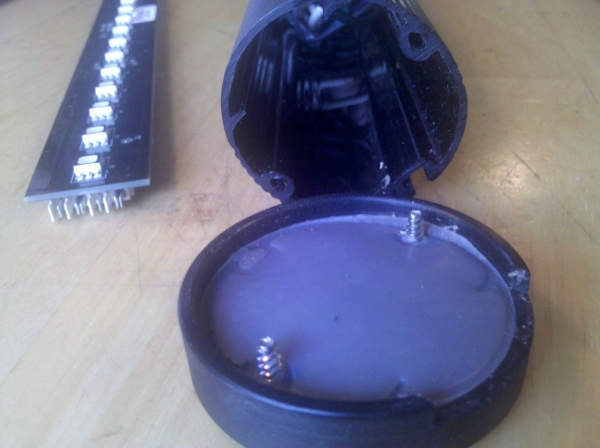
Enclosure details
Of course the first thing I do is take one apart. I’m quite happy to find that behind the board stack is an AC to DC convertor, marked “input 100VAC to 277VAC”. Nice. These will run off of a household outlet.
The connectors are big waterproof industrial things. Knowing I want to make these glow NOW, and that finding the right connector can be a big time sink, I do two things. 1) Order a USB DMX controller kit, and 2) sacrifice one light to obtain the appropriate connector. I use the connector with a stinger for power.

Nice waterproof Wieland “Solar” power and signal connector
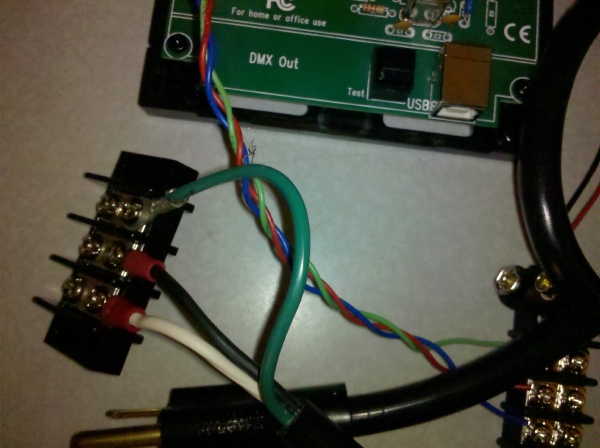
Stinger
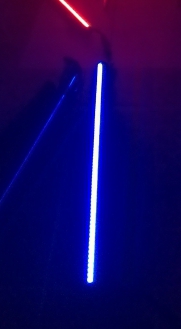
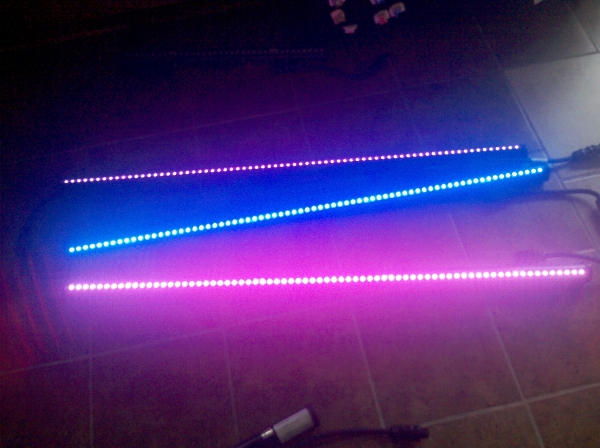
So wow, the USB to DMX kit comes in fast. I build it and use some freeware called DMXControl. In short order I have light. And it was good. I also find that each of these has a hard coded DMX address. Well, three, one each for Red, Green, and Blue. They are addressable by light assembly, that is each 4 foot (or 2 foot though I only have one) unit is all the same color. According to the manufacturer’s web site, they also have versions that are addressable by individual foot long boards.
I do say old chap, W00t!
The LED board has some nifty features. Each section has connectors for power and DMX, as well as connectors at each end to allow daisy chaining the boards themselves. There is a switching power supply (they take 24V in), and a 75176 RS485 signal driver on both the receive and transmit ends. This means that even if there are many of these daisy chained across, say hypothetically a 1,368 foot long structure, the signal is strong because it is repeated by successive drivers on each board in the chain. Though properly terminated RS485 can be transmitted for quite some distance. Still, I think repeating the drivers like this is good practice for a reliability critical environment.

Artsy board shot
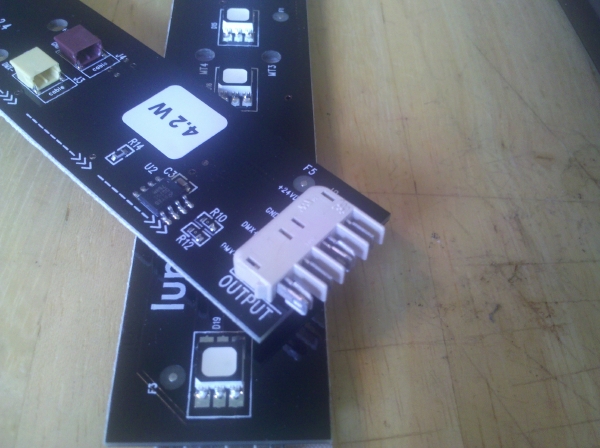
Board to board interconnect
There are three reasonably healthy FETs on each board, driving each color of the RGB LEDs. The designers chose a Microchip dsPIC33FJ12MC202EML. I’ve done a similar control board with a PIC18F26K80, see my Simple RGB LED driver post. And yes, DMX control is part of what I’ve developed for my board. Sometimes the cost savings of choosing one processor over another is immaterial: in this case, while yes, the processor I used is “cheaper”, even on a major project like the one these LEDs came from it would’ve saved only $250. If you’ve already got code for one processor, you can easily burn up that much in an engineer’s time porting it to a “cheaper” option. Of course all of that is really immaterial if two years after installation you rip down the hundreds of still functioning lights from the bridge, replace them with the newer, cooler, brighter version, and toss all of those still functioning lights into a dumpster. Welcome to an inefficiency in our supposed otherwise efficient capitalism.
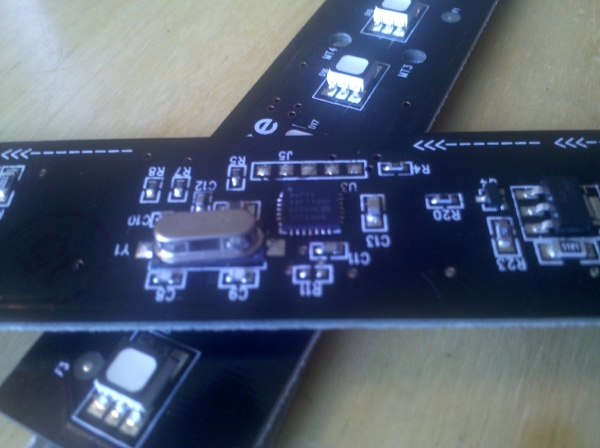
dsPIC and support components
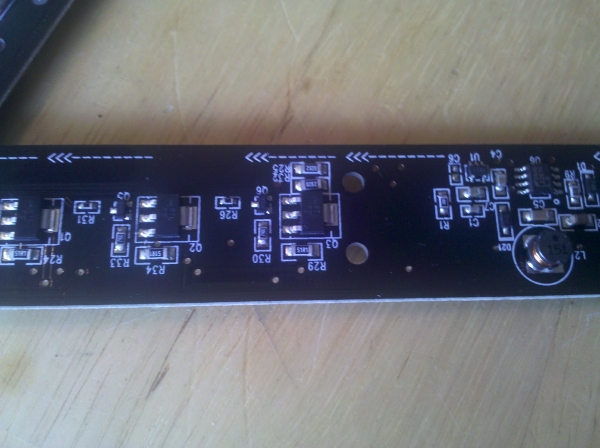
LED drive FETs
DMXControl (both DMX control the concept, and the program I used to run the lights) is phun to play with. I did some Groovebox twiddling and shot a video of some of these lights using DMXControl as a spectrum analyzer. Yeah, so this little project I got to play pirate, hacker, engineer, and dance music producer. Rave out!
(Here’s a link to the song used in the demo video)
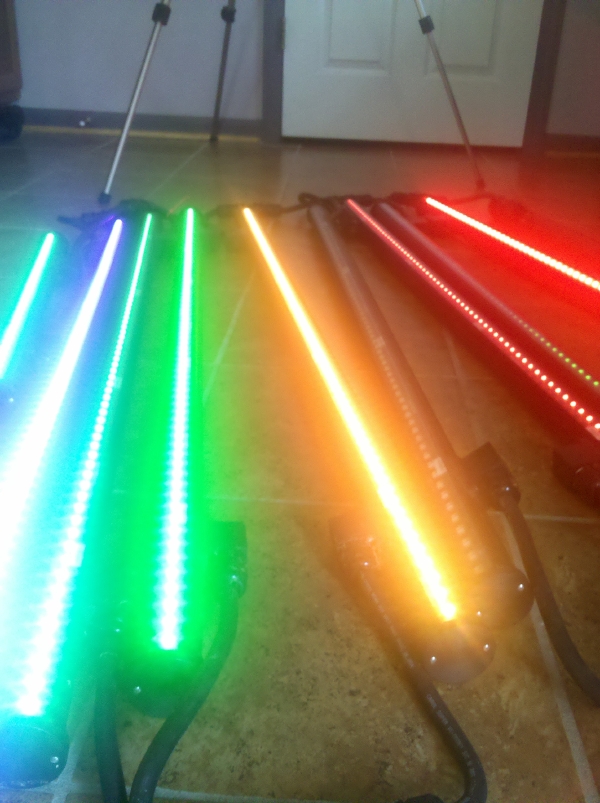
If I wasn’t just some hacker, this would be called a “production still”…

Like groovy man