Machine Shop to Molded Part
Posted by FirmWarez on 17 Oct 2012 in Blog | 0 comments
(I had started this blog about a week ago, and then saw this post at Hackaday titled “repoduce 3D printed models by making your own molds“, so I figured I needed to get off my lazy butt and get this posted!)
Ok, there was a time, way before 3D printers, that this process was considered “rapid prototyping”. Making silicone molds of parts and replicating them in casting resin is still a useful hardware hacker/maker skill.
3D printers are nifty and all the buzz, but they are 1) not the only way to make something, and 2) not always the best way to make something. Why use the casting technique? Speed. Repeatability. Ability to cast things inside the parts. Of course 3D printing combined with casting would be an excellent skill and capability set. 3D printers are ideal for making molds and prototypes, such as this article of a DIY repair over at Make. (Note: yeah, I wrote this before the Hackaday article. Day late and a dollar short).
A reason I mentioned was speed. 3D printing is slow. It’s an incredibly slow manufacturing process. A large injection molding machine can make hundreds of parts in seconds. Often times with our Dimension machine, and a complex prototype, we’d let the thing run overnight — hours. It’s not like a Star Trek replicator, it takes time, and things can go wrong during the build. If you want to do a short production run, like the Hackaday article says, print a model, make molds, and cast parts. If you want to do a large production run, take your CAD files to a tool and die maker, and get a tool made for injection molding.
Here’s the process demonstrated with some enclosures I’ve done for a start-up I’m involved with. I don’t have a 3D printer (though I was VP of engineering at a company with a Dimension Stratasys machine, and still have access as needed). I do have a lathe and a mill, and I made my prototype out of aluminum. It’s durable, cheap, and I’m used to working with this material. I can machine, polish, bead blast, do whatever I want.
A couple of side notes here: 1) if you want to sound technical, call it “Fused Deposition Modeling” instead of 3D printing. The Makerbot guys didn’t invent this process, and there is a technical, professional term for it. 2) Make friends with a professional shop or university that has a Dimension machine. There are a few feet left off each reel of material that the machine can’t use; some professional shops throw this stuff away. Sad, but true. A pro shop could very well be an excellent source of raw material for a maker, and it’s so much better to make use of plastic than toss that precious petroleum away.
Ok, on to making molds and cast parts. So first, I make a model part. This is called “making chips”. If you don’t know what kerf and swarf are, GTFO my machine shop. No, actually, if you don’t know and ask nice I’ll teach you.
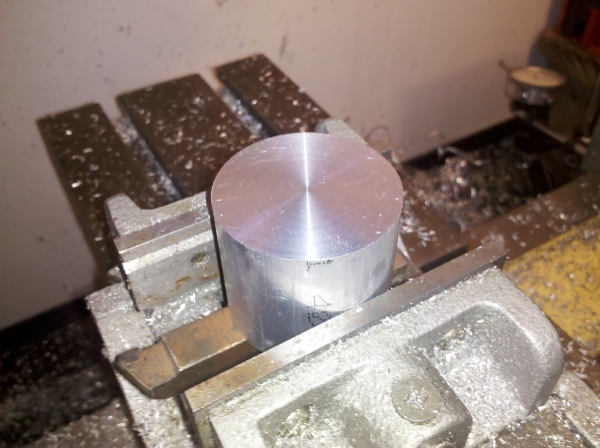
Big chunk of aluminum that’s been faced off on the lathe
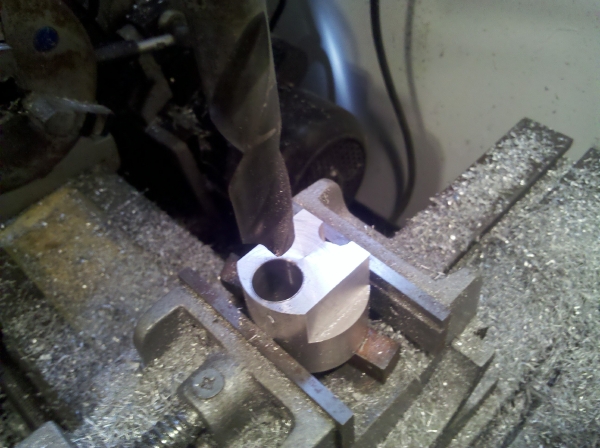
That’s funny, the drill bit looks about the same diameter as a CR123 battery!
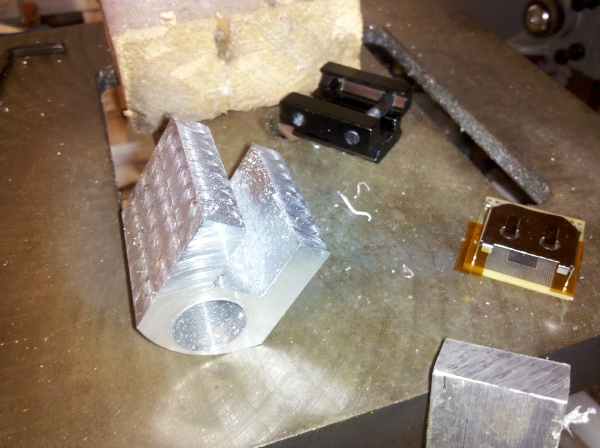
Hot rodders go ape shit over the “engine turned” appearance of traditional machining
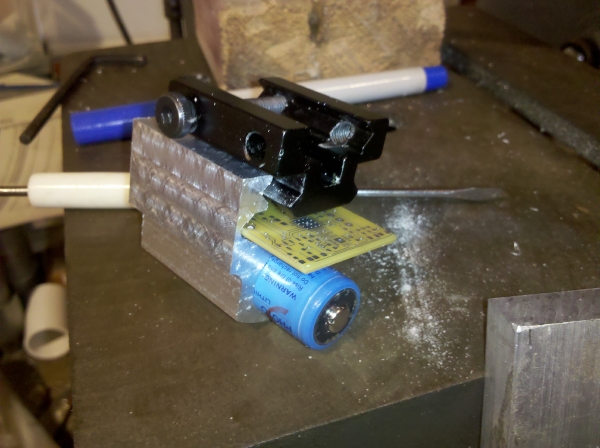
Test fitting rail, board, and battery in the model
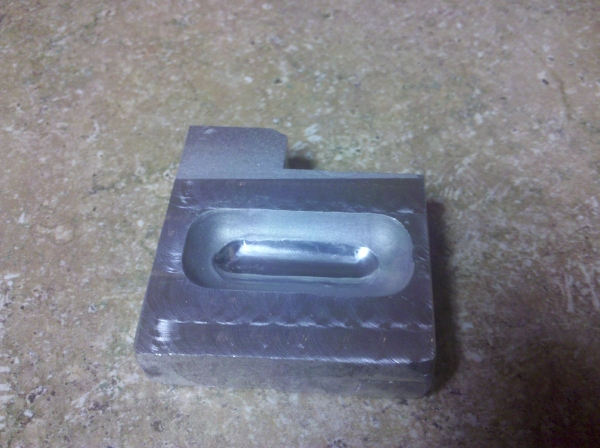
A different mold model with a polished section for a super clear cast part encapsulating electronics
Something to keep in mind if your cast parts need tight dimensional tolerance. Different casting resins shrink at different rates when they cure. Molding silicone is great dimensionally and at picking up details, including the “engine turned” look of my aluminum prototype. Casting resins aren’t so great, and may not pick up all details, and may shrink. Again, this depends on the type of resin you are using, but do keep in mind if your part needs to be perfect.
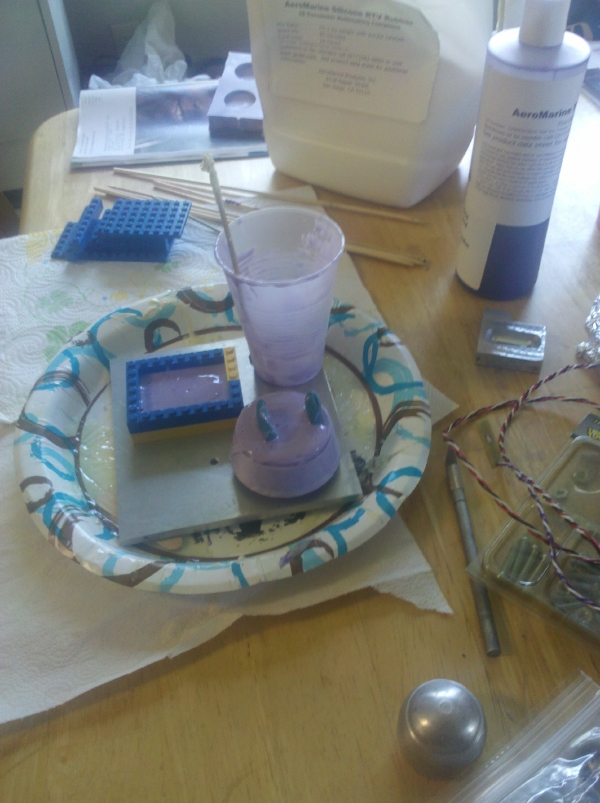
Now that we have our model, we make a silicone mold. Yes, Lego. Out of all the materials and methods I’ve tried for making forms for molds, Lego is best. The silicone really only sticks to itself; it easily pulls away from the Lego form and the aluminum pattern. Basically you take the part and encase it in silicone. There are plenty of educational posts out there telling you how to do this, from the Hackaday article linked above to Adam Savage’s articles in Make. The silicone is a two part mixture, a thick gooey gunk and a liquid catalyst. Mix the two together, trying not to introduce bubbles, and pour it over the part. Before doing this you need to decide if this is going to be a one-piece or multi-piece mold, and you also need to think about paths for pouring in the casting resin, and letting air out. You can see where I’ve used modeling clay on one mold for this purpose.
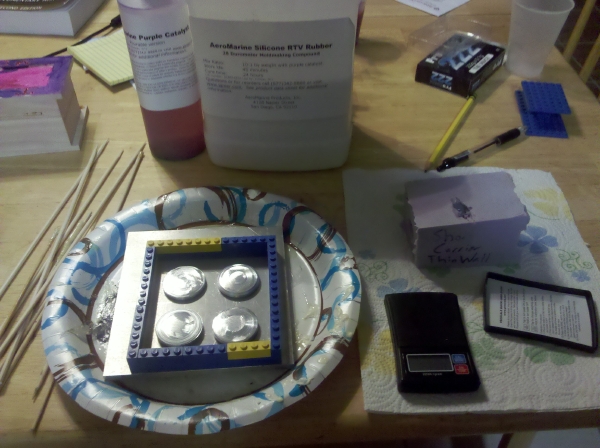
Mold making supplies and tools
Let the silicone cure over night. That means if you are making a multi-piece mold, you may have to dedicate a couple of evenings to it. Now the nice thing is the hands-on part of mold making can go very fast. Figure out what kind of mold you want. Make the form (the Lego boxes). Put your part in with sprue added by modeling clay, mix the goo and dump it in. Then wait. And wait some more. Go read Make magazine. Or send me irritating e-mail. When I’m done waiting and everything is cured I give the cup that I mixed it in to my wife; she likes to pull the silicone skin out of the cup, because she’s a silly pony.
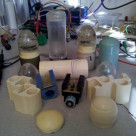
A variety of molds in process
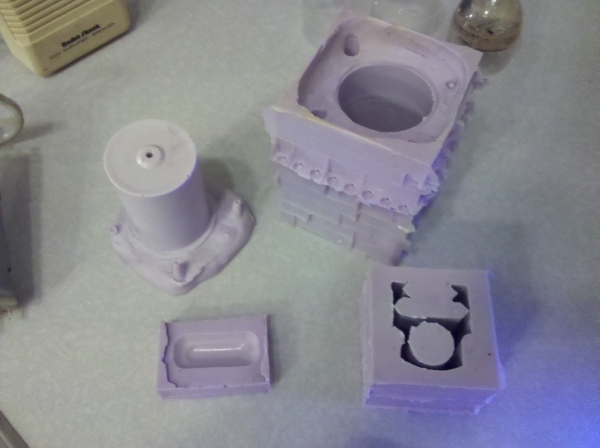
Different molds, big and small
Once the molds are ready, we cast parts using a two part resin. Different resins have different instructions, follow what the manufacturer says. Some mix by weight (hence the little digital scale in some pictures), others mix by volume. Parts can be colored, by using either pre-colored resin or by adding a dye. The final cast pieces can be machined, painted, whatever post processing is required.
Would I like to have a 3D printer in my arsenal of making tools? Sure! But the latest coolest way of getting something done isn’t the only way. I tend to worry more about ‘getting it done’ than being all street creddy about how I get it done.
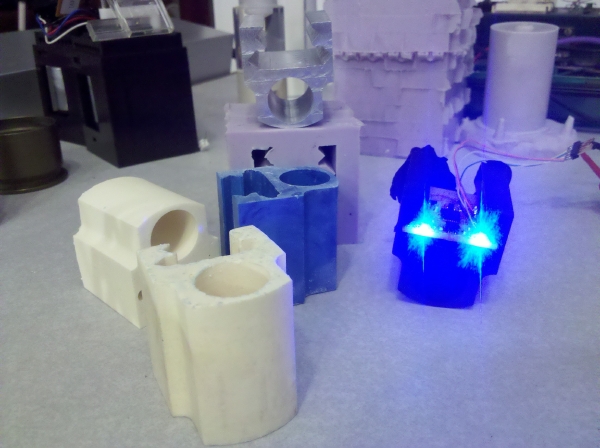
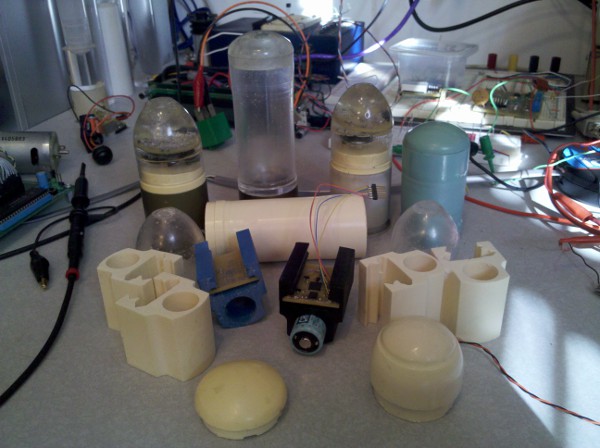
Model, mold, and parts
![]()
Clear parts
FDM machines are fantastic, and it’s exciting that they’ve been developed and embraced by the open source maker movement. They have some fantastic advantages:
1) It’s a nifty process allowing more consumers to actually see something being made
2) A user can just download files and print
3) It doesn’t require special machining skills or things like lathes that can chop your hand off
4) FDM is an excellent process for making very intricate shapes
Why use old fashioned castings:
1) You want to make a short production run and not wait forever for the bot
2) The part needs to be clear
3) The part requires more strength than FDM
4) The part incorporates encapsulated electronics
![]()
Super clear part
Look, 3D printing is great, but the reality is it is just another manufacturing process. Technologies don’t die, even when new ones come along. The two oldest methods of working metal are casting it in sand, and beating it with a hammer. These processes are still used, because they are right for some applications. Anyone who thinks a single manufacturing process is a panacea is most definitely _not_ a mech E. “But, but I’m just a maker!” you say. Well, people wouldn’t think highly of a “citizen scientist” who did incantations over their experiments to induce good results, right? So if you’re going to play mechanical/manufacturing engineer, learn to think like one. There’s a reason people get degrees in this stuff, and that experience counts.
As always, learn and do. That’s what it’s about, having an open mind, and making something with it!
Look for my next blog on casting: clear parts and advanced casting techniques. You’ll notice from the pictures here that some clear parts are bubbly, while there’s one showcased that is super clear. There are many more advanced techniques for achieving very high quality results, I promise to touch on those later!